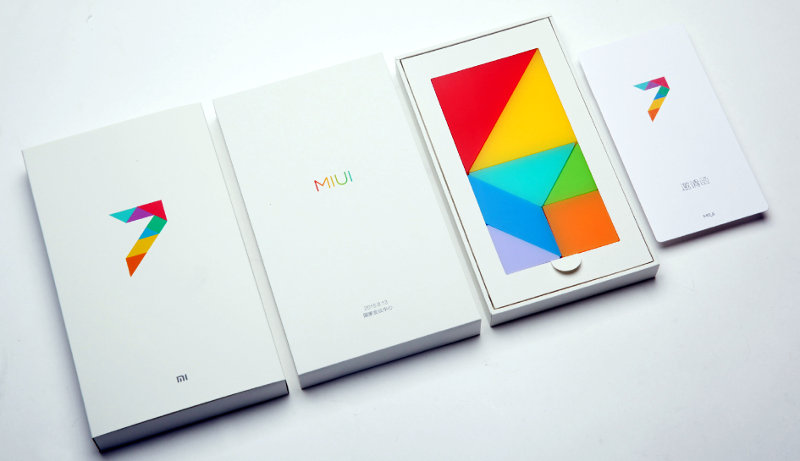
It’s just a month ago Xiaomi announced the MIUI 7, its latest version of MIUI ROM. The Redmi Note 2 and Redmi Note 2 Prime are the first Xiaomi smartphones to run MIUI 7 on top. The MIUI 7 brings not only new user interface but also a boost the performance and tons of new features.
If you own any of the Xiaomi smartphones, then do check out the list of phones getting MIUI 7 update. The Redmi 1S which is the entry level smartphone has been listed in the upgrade list. If you own Redmi 1S and can’t wait for the official rollout of MIUI 7 update, then here below we shared a simple tutorial that will help running the latest MIUI ROM on your handset. It is a custom ROM which gives the same user experience of MIUI 7 firmware. There are two MIUI ROM listed below in which v5.8.22 is the latest. So what are you waiting for? Just follow the below steps and make your device most of it.

Disclaimer: Installation of Custom ROMs and rooting your device voids the company warranty. You may brick or damage your device during the process, so Xiaomi Advices is not responsible for any mishap. Proceed at your own risk.
Pre-requisites:
- The below tutorial is only for Xiaomi Redmi 1S. Do not install on any other model.
- Make sure TWRP Custom Recovery is installed on your handset. If not, check here.
- Perform a full backup or nandroid backup to restore the data in case any data loss occurs during the update process.
- There should be 80% of battery life as the process might take a while to complete.
- Redmi 1S USB Drivers should be installed on your PC for transferring the ROM files after downloading.
- You can download KitKat Google Apps and flash it through TWRP recovery.
Downloads:
- MIUI 7 ROM 5.8.13
- MIUI 7 ROM 5.8.22
- Google Apps for Android KitKat
How to Install MIUI 7 ROM on Redmi 1S:
1. Download MIUI 7 ROM and Google Apps from the above download section.
2. Now connect your device with PC and transfer the above files to the internal storage where it can be easily found.
3. Next power-off your device and into Custom Recovery (TWRP). To boot into TWRP Recovery, press and hold volume down and power keys together.
4. After booting into recovery, select the Wipe button and then Advanced Wipe from the main menu. After that, select Dalvik Cache, System, Data and Cache. Swipe right to continue.
5. Head back to TWRP main menu and tap on the Install option and then choose the ROM file from the internal storage.
6. Tap the confirmation button to start the installation process.
7. Now again go back to recovery main menu and repeat Step 5. But this time select the Google Apps zip file.
8. Once done, reboot into normal mode.
If you encounter any errors during the installation process, do let us know in the below comment box. We will get back to you will most possible solutions.

There is no link for Google apps here pls give me the link. And can I do this using CWM recovery? Won’t be any prob right?