Mi Cloud is a great feature included on each and every Xiaomi Android phones and tablets. It lets users to sync your data across multiple mi devices and there will be secure data storage on cloud. With Mi Cloud you can easily access important stuff like photos, contacts, messages, recording, notes, and more by just logging into your MI account with valid username and password. It offers a maximum of 5 GB of free storage and additional storage might cost a bit.
For better experience, here we have Mi Cloud desktop app which lets MIUI users to easily manage all their photos and organize them in a systematic manner right away from laptops or PCs. Not only photos, other contents like Mi recordings, messages, notes, videos, and find device can also be accessed from Mi Cloud desktop application. Also how to create Xiaomi & Mi Cloud account
The following is the guide to manage your photos on Windows, Mac using Mi Cloud Desktop app–
How to use the Mi Cloud desktop app to manage your photos on PC:
Method 1: Directly through Web (Chrome)
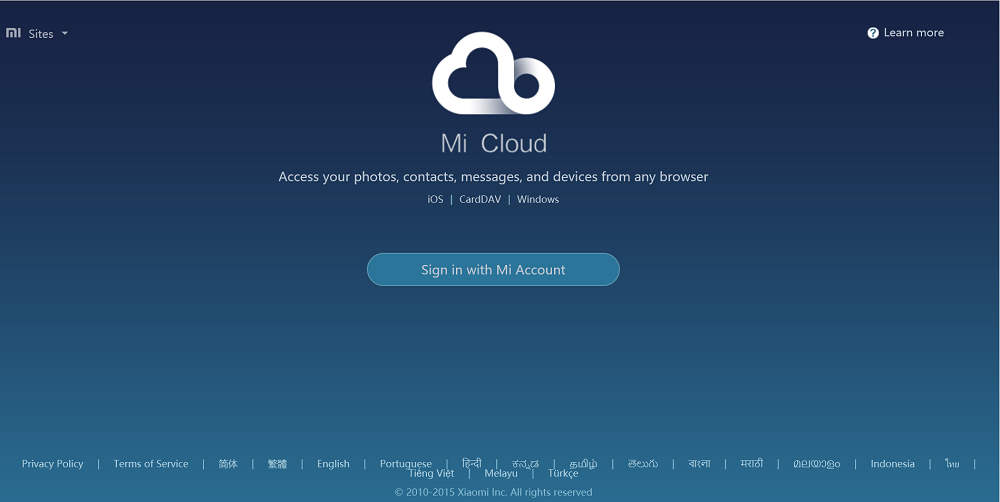
To get started, you need to go to the Mi Cloud Desktop app. Now login to the account by entering correct username and password.

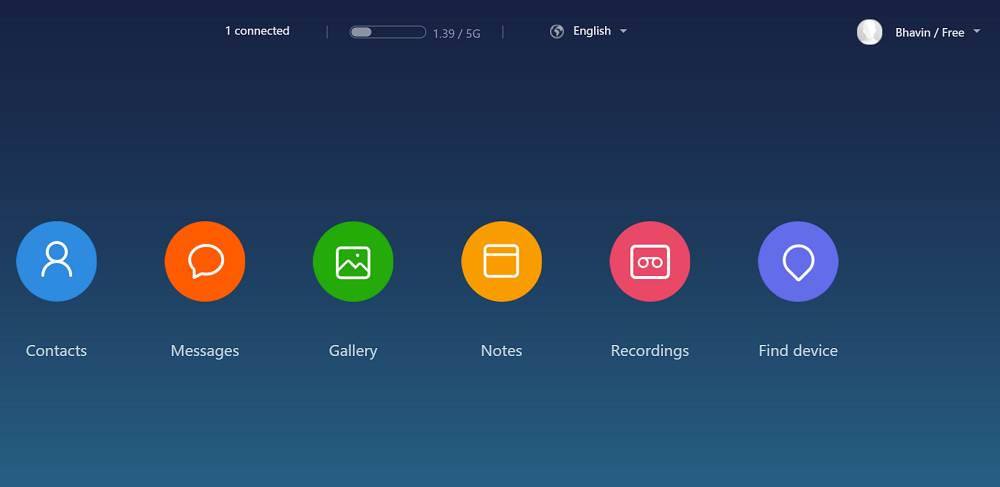
Now you will see the following screen from where you can easily access contacts, messages, gallery, and much more.

In order to manage you photos, go to Gallery where you can get access to all your photos and albums.

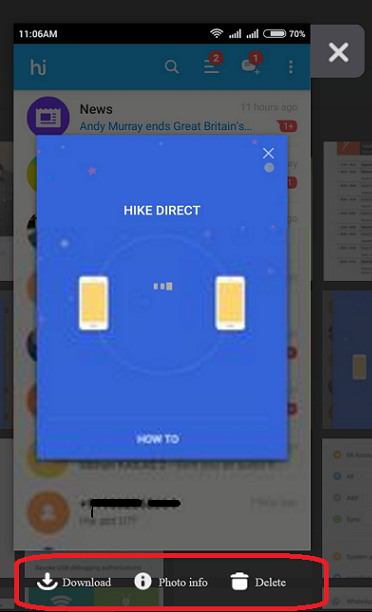
You can also download photos from Mi Cloud to your Windows/Mac PC easily. After selecting the photos, you will see many options like download, photo info and delete. You need to tap on “Download” to download the photo on your laptop.
Method 2: By downloading Mi Cloud app

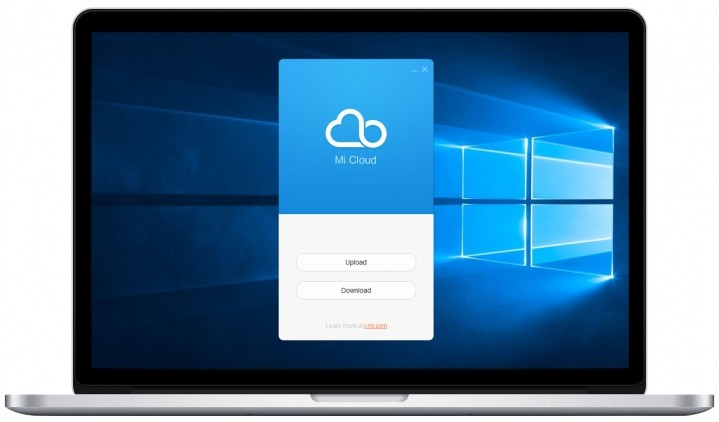
This is the another way to manage Mi photos by simply downloading and installing the Mi Cloud application on your computer. Once installed, like the about step you need to login with valid details and choose any one option from Download or Upload to continue. If you tap on download, you need to select the destination folder on your PC where your downloads are to be saved. Similarly you can upload pictures by choosing ‘Upload’.

LEAVE A REPLY