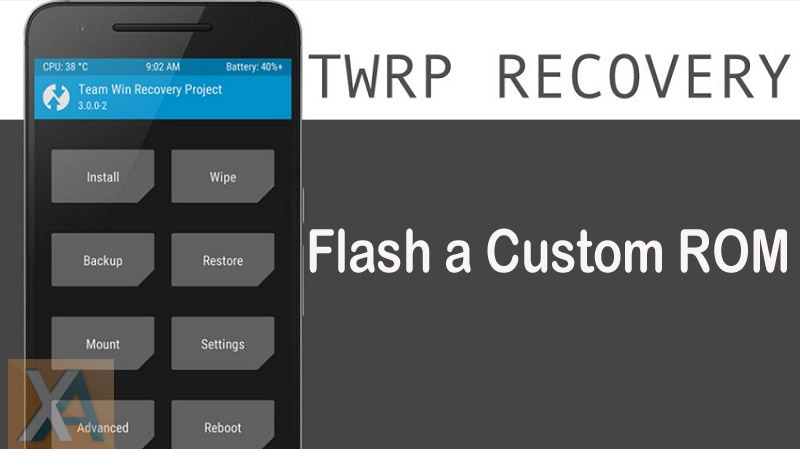
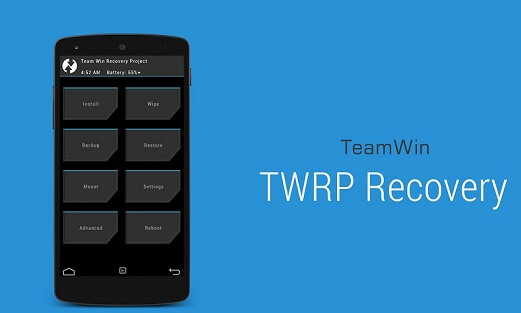
Flash a Custom ROM using TWRP Recovery: Android is an open source mobile operating system having options for developers to contribute with CUSTOM ROM to make the device most of it. Most of you might already aware of Custom ROM, if not here we have explained everything in detail.

What is an Android Custom ROM?
All Android smartphones & tablets comes pre-installed with a “Stock ROM”, also known as the “Stock Firmware”. With this stock firmware, users can only perform limited tasks that are defined by the phone’s manufacturers. For instance, users have to be on stock firmware unless or until OEM rolls out latest Android update.
Considering a Custom ROM, users have the options to make core-system changes as these are developed by the Android community. Being open source, anyone can edit the Android code, recompile it and re-release the same to range of devices available in the market. Most of the these ROM’s available on the web are completely free. Unlike Stock Firmware, users have the option to taste Google’s latest operating system by flashing Custom ROM’s.
Although flashing a Custom ROM is not a difficult task, but you need to perform carefully as it might result in a brick. If you’re new to third-party ROM, then do check out the below procedure to flash a Custom ROM on any Android phone using TWRP Recovery.
Also: How to Install ADB and Fastboot Drivers on Windows
Disclaimer: Flashing custom ROM voids company warranty. We should not held responsible for any damage occurs to your device during or after the flashing procedure. Always proceed at your own interest.
How to install a Custom ROM on any Android phone using TWRP Recovery
1. Firstly, you need to download the custom ROM which you wish to flash to your smartphone.
2. Now, transfer the downloaded ROM to device storage. Make sure to copy to the root of the folder.
3. Next, boot your device into TWRP Recovery. Also How to Install TWRP Recovery on Android Phones.

4. From the recovery main menu, Wipe Data, cache and Dalvik.
Note: Not all ROM’s required a Factory Reset. So perform the above step if only required.
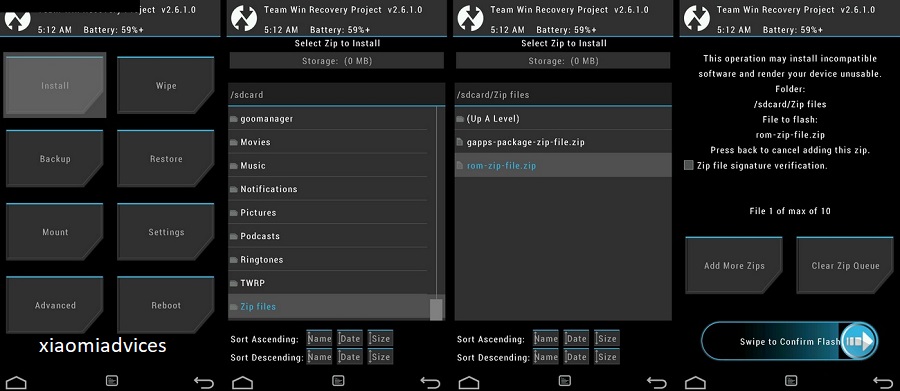
5. Once done, you need to go back to TWRP recovery main menu and tap on the “Install” option. Select the custom ROM’s .zip file which you have saved to device storage in step 1.
6. After selecting the ROM .zip file, perform “Swipe to Confirm flash” on the bottom of the screen to start installation process.
7. Once your custom ROM is successfully flashed, you’ll notice the “Wipe cache/Dalvik” option, select it and then enable “Swipe to wipe” from the bottom of the screen.
8. On completion, go back to TWRP main menu and tap on “Reboot System”.

That’s it! You’re all set to enjoy the new ROM which you have flashed on your Android smartphone. Do remember that first boot might take few minutes. So don’t panic and keep patience.
Any difficulty during the above procedure, do leave a comment below. We’ll get back to you with most possible outcomes.

LEAVE A REPLY