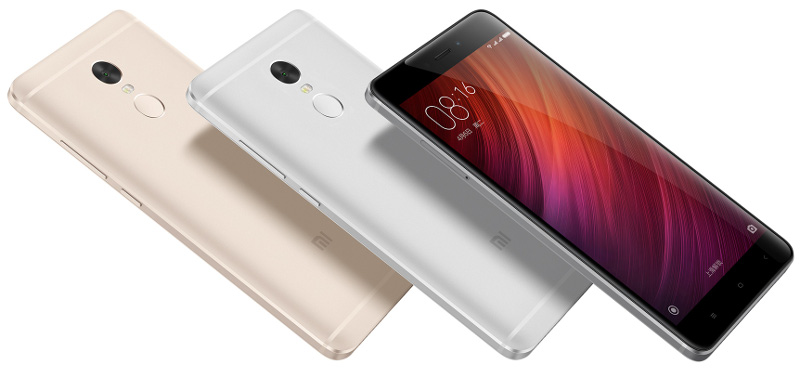
This tutorial will teach you how to Root Xiaomi Redmi Note 4 and Install TWRP Recovery.
The Xiaomi Redmi Note 4, Xiaomi’s most recent addition to its mid-range segment is already a great hit in China due to its high-end specs at an affordable price tag. Recent reports also claims that the device will soon make its entry to other Global market including India. But there are people who already purchased this device may not be biggest fan of Xiaomi’s MIUI ROM. For those, Rooting is the option which lets you flash any Custom ROM on your Xiaomi Redmi Note 4.

Rooting is a process which let admin gain rights on Android allowing a ton of new possibilities for the Redmi Note 3. From overclocking to increasing battery life to flashing custom ROMs like CyanogenMod, which gives entirely a new experience, the rooting Redmi Note 3 can help you get most of it. Also Android 7.0 Nougat Update for Redmi Note 4 – Release Date, Download
Quick Pre-requisites:
- The following rooting process is compatible only with Redmi Note 4. Don’t try on any other model.
- Make sure bootloader of your device is unlocked. If not, check HERE for complete tutorial.
- The battery level on your handset should be maintain to at least 60% to avoid unnecessary power-off between the rooting processes.
- Enable USB Debugging and Developer options from Settings. You can also check our guide on how to enable USB Debugging on Redmi Note 4.
- Backup all your data to a safe location in order to restore if any data loss occurs.
Disclaimer: Rooting of Android smartphones and installing TWRP Recovery voids company warranty. You may also brick your handset if doesn’t follow the steps correctly. We are not responsible for any damage occurs to your phone.
Also: Download Beautiful Wallpapers for Redmi Note 4
Root Redmi Note 4 and Install TWRP Recovery
1. Download SuperSu zip file and save on your device storage.
2. Download TWRP Recovery file on your PC and copy it to the ADB & Fastboot folder. Make sure to rename it to ‘recovery.img’.
3. Go to ADB folder and launch command window. To do so, press and hold the ‘shift’ key and right click anywhere in ADB folder.
4. Now you need to connect the device with PC using a USB cable and reboot it into fastboot mode by giving the following command:
adb reboot bootloader
Given the following commands one after another to flash TWRP recovery on your Redmi Note 4.
fastboot devices
The above command checks a valid connection between your device and PC.
fastboot flash recovery recovery.img
The above command starts flashing recovery on your smartphone.
fastboot boot recovery.img
This command boots your device into recovery mode.
5. Once you’re in the recovery mode, select your preferred language and set it what you want. Just swipe to allow modifications.
6. Go to “Wipe” settings and perform “Format Data”.
7. Now from Recovery main menu, choose “Install Zip’ and locate “SuperSu.zip” file which you have copied to device storage.
8. Swipe to start flashing SuperSU on your device. Once done, choose “Reboot” to boot your device into normal mode.
That’s it! You have successfully rooted Redmi Note 3 and installed TWRP Recovery. For confirmation, do download and install an app called “Root Checker” on your device.

LEAVE A REPLY