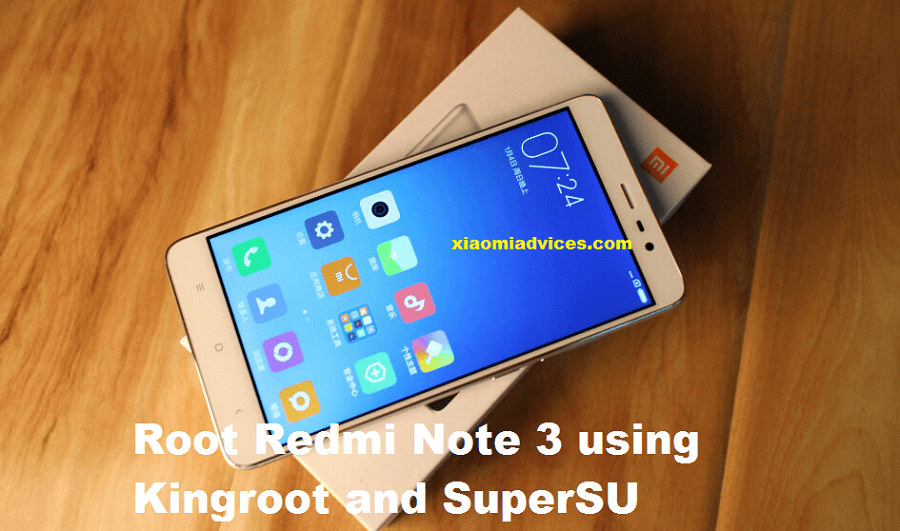
Xiaomi Redmi Note 3 is one of the best value for money smartphone already announced to the major regions of Asia including India. In China, smartphones are launched in two different variants – One powered with MediaTek and another with Snapdragon 650. The Snapdragon 650 powered device is dubbed as Redmi Note 3 Pro and we have already shared the detailed comparison. You can check HERE. In this post, we have shared step by step instructions to root Redmi Note 3 MIUI 8 using Kingroot and SuperSU.

After rolling MIUI 8 China Stable build, Xiaomi recently rolled out MIUI 8 Global Stable build for various Mi and Redmi devices. The Redmi Note 3 is one of those devices in the list to get MIUI 8 update and many users might have already installed the latest update. If not, manually download from HERE. The great news is that the Redmi Note 3 can be easily rooted with the help of Kingroot and SuperSU. It is a one-click root process and every user can follow it easily. All credits go to rathaROG of MIUI Forum for developing the rooting script. Before starting the rooting process, do check the below quick pre-requisites.
Related: Download TWRP recovery and root Xiaomi Redmi Note 3/Pro
Early preparations:
- Works only with Redmi Note 3 MediaTek variant with locked or unlocked bootloader (Need confirms whether it is compatible with Snapdragon version of Redmi Note 3/Pro).
- Your device should be on MIUI 8 or older of Global Stable ROM and 6.2.18 or older of Developer ROM
- Internet Connection
- Make sure the installation of apps from Unknown Sources is enabled on your RN3 smartphone. You can enable from the path Settings > Security > Device Administration > then enable Unknown Sources.
How to Root Redmi Note 3 MediaTek using Kingroot
1. Firstly download Kingroot APK latest version from the below download section directly to your device storage.
2. Locate the APK file and install it on your device.
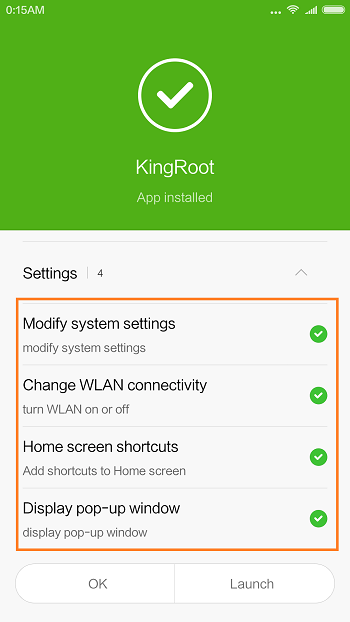
3. Make sure to enable/allow all permissions.

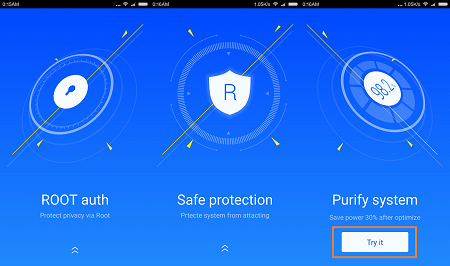
4. Launch the app and scroll down the screen until you see “Try it” button. Tap on it to continue.

5. Now the app starts the verification process of your smartphone.
6. Once done, you will see the option START ROOT or Try to Root button. Just tap on it to start the rooting process.
7. Be patient and wait until the device is successfully rooted. You will see the following screen on completion –
8. You can confirm the root access by downloading a free third party app called Root Checker from Google Play Store.
Note: You can uninstall the purify app from Settings if you want. Doing this there will be no effect on the root access.
Related: How to update Xiaomi Redmi Note 3 to Android 6.0 Marshmallow
Replace Kingroot with SuperSU
#1: Download Kingroot to SuperSU script from below and extract the same on your computer.
#2: Now connect the Redmi Note 3 with computer and transfer all the extracted files to internal storage. Make sure the files are copied at /sdcard/
#3: Disconnect the device from PC.
#4: Then you need to download & install an app called Terminal Emulator.
#5: Open Terminal emulator and give the first command:
Su
#6: Allow root permission
#7: Give another command:
Sh /sdcard/supersu/start.sh
#8: In-between the process, the script needs certain confirmation. So, hit enter where it is needed.
#9: It might display some error, in the end it will launch supersu or open supersu manually.
#10: Update su binary normal and then reboot to apply the changes.
That’s the simple guide to root Redmi Note 3 MTK using Kingroot and SuperSU app. Do comment below in case you find any errors during the process. Also, do share the post with your friends on Facebook and Twitter using the below social sharing buttons.
Download Section:
Kingroot to SuperSU script – Link

LEAVE A REPLY