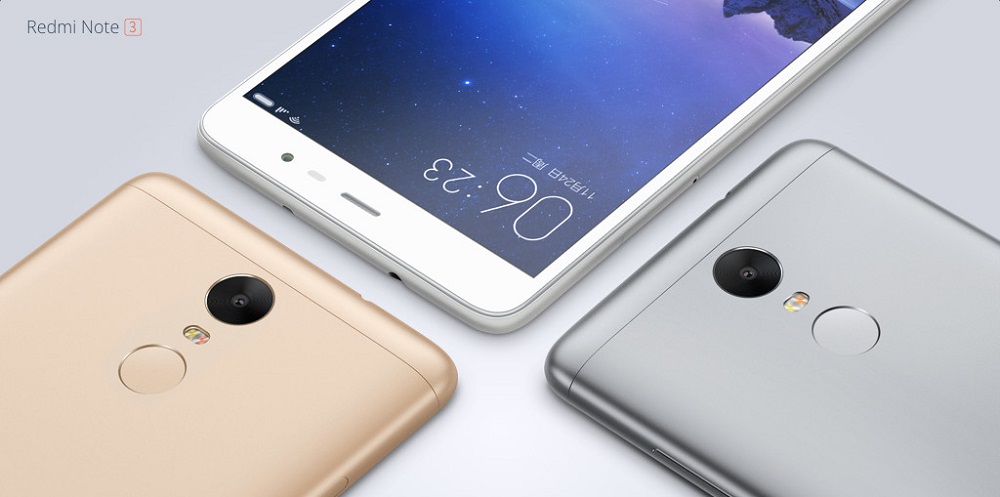
Have you bricked your Xiaomi Redmi Note 3? Don’t worry! In this post we have shared easiest solution to unbrick Redmi Note 3 via Mi PC Suite.
As we all know, Xiaomi Redmi Note 3 was announced in two different variants – MediaTek and Snapdragon. Unlike rooting process, the below unbrick procedure can be followed for both the variants. Users just need to download latest version of MIUI ROM and flash it via Mi PC Suite.

There are various reasons behind facing bricked Redmi Note 3 issue. Among all, flashing wrong ROM is one of the most common reason. Apart from that, there is also situation where things goes messy while flashing ROM manually and ends up with a brick. Now after no need to worry as here we have one of the simplest guide to Unbrick Redmi Note 3. Without much wasting time, do follow the below steps and bring your device life back.
Early preparations:
- It works only with Redmi Note 3 (both Snapdragon & MediaTek). Don’t try on any other Xiaomi device.
- Download & install Xiaomi USB Drivers on your computer.
- Download & install Mi PC Suite (English version) on your computer.
- Enable OEM Unlock from the path Settings > Additional Settings > Developer Options > Enable OEM Unlock.
- Ensure USB Debugging mode is enabled on your smartphone. You can follow our guide on how to enable USB Debugging in Redmi Note 3.
- A USB cable to connect the device with computer.
- Make sure your computer has a working internet connection.
Disclaimer: Xiaomi Advices is not responsible for any damage occurs to your device which is uncertain if you follow the steps accordingly. Always proceed at your own risk.
How to unbrick Redmi Note 3 & flash stock firmware
1. Firstly, launch Mi PC Suite on your computer.
2. Take a USB cable and connect the device with computer. Wait for the tool to recognize the device and the connection between them is successful. (If the tool doesn’t recognize your device, just restart the Mi PC Suite without disconnecting the device from computer).
3. Once the connection is successful, you need to login to Mi Account through the Mi PC Suite by typing correct login credentials.
4. Mi PC Suite automatically detects whether your device is on bootloop or in bricked situation. Now you need to follow the on-screen instructions to put your Redmi Note 3 into Fastboot mode.
5. Once your device into fastboot mode, the Mi PC Suite finds suitable ROM for your bricked Redmi Note 3 and you need to choose from available Stable or Beta MIUI ROM (Stable is recommended).
6. Next click on ‘Flash device’.
7. Mi PC Suite starts downloading the ROM package into your computer. A high speed internet connection is required for downloading the ROM file.
8. Mi PC Suite automatically installs the Stable ROM on your device. It will be restored to factory settings just like a brand new smartphone.
That’s it! You have successfully fixed bricked Redmi Note 3. Have any issues while following the above tutorial, just comment below.
Related:

LEAVE A REPLY